
Frosted glass effect popular top trend
How to do CSS only frosted glass effect?
Frosted glass effect has been kicking all over the internet for quite a few years now, Mac OS is famous for its frosted glass effect and Windows 10 is also getting frosted glass effect implemented with some other light & depth, motion, material, scale stuff known as Fluent Design sys.

When it comes to doing frosted glass effect in CSS, some of us know how to do that, while others are still searching all over the internet:
What to do??
- “css glossy effect”
- “css frosted glass”
- “transparent blur background css”
- “frosted glass effect photoshop”
- “css blur background only”
- “css glass pane”
- “css backdrop filter”
- “css blur overlay”
- ‘css blur background behind div’
Today I’m going to show one of the CSS-only methods that you can use to do frosted glass effects in CSS.
Let’s Begin.
1. Create a HTML markup
To keep it simple, I’m just going to show you how to do a frosted glass effect with an empty div. So, all you need in HTML is an empty div.
<div></div>
2. Remove extra Margin & Padding from all Elements
Now, we need to remove extra margin & padding from our all elements. So, our background doesn’t have any margin or padding, etc.
*{ margin: 0; padding: 0;}
3. Add a background image
We need our background to take the full width & height of a page and we don’t want our background to repeat, We also want our background to be fixed. We want our background to be fixed because we don’t want our full background to appear inside a div when we inherit our background later.
body{
background-image: url(http://bit.ly/2gPLxZ4); //add "" if you want
background-repeat: no-repeat;
background-attachment: fixed;
background-size: cover ;
}
4. Now give some styles to Div
Now, we are going to give some width & height to our div with background inherit. We also need position absolute to make sure our overlay doesn’t take up the full width & height of our webpage
div{
background: inherit;
width: 250px;
height: 350px;
position: absolute;
}
5. Example with & without attachment fixed
 |
with background-attachment fixed without background-attachment fixed |
6. Now we need to create an overlay
We need content: “” to make sure our before pseudo-class works. We also inherit background from its parent and we are using position absolute to align it inside its parent element which is DIV. We are using box shadow to add a white transparent overlay and we are using blur to blur that overlay.
div:before{
content: “ ”;
background: inherit;
position: absolute;
left: 0;
right: 0;
top: 0;
bottom: 0;
box-shadow: inset 0 0 0 3000px rgba(255,255,255,0.3);
filter: blur(10px);
}
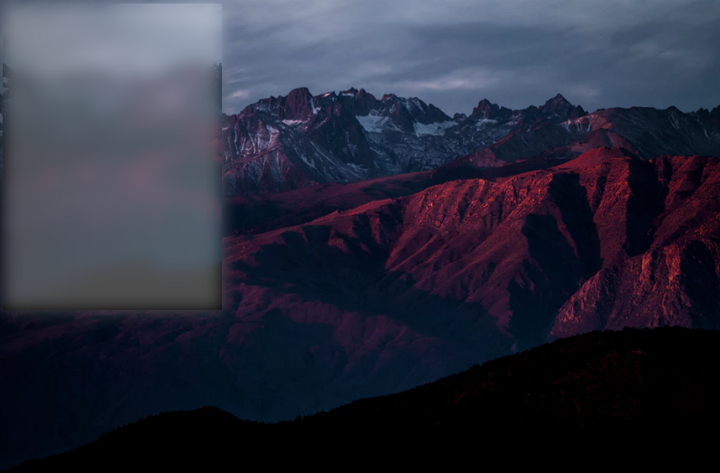
Well, it looks something like this now but we are still having few issues around the edges of our div.
7. Fixing unblurred edges of our DIV
Now, We need to fix the unblurred edges of our div and for that, we need to increase the size of our overlay a little bit higher than its parent size and then give it minus(-25) top and left position. We also need to give its parent overflow of hidden to make sure any overlay that goes outside parent DIV doesn’t show up and it's hidden.
div{
background: inherit;
width: 250px;
height: 350px;
position: absolute;
overflow: hidden; //adding overflow hidden
}
div:before{
content: ‘’;
width: 300px;
height: 400px;
background: inherit;
position: absolute;
left: -25px; //giving minus -25px left position
right: 0;
top: -25px; //giving minus -25px top position
bottom: 0;
box-shadow: inset 0 0 0 200px rgba(255,255,255,0.3);
filter: blur(10px);
}

Here we go, Now we have our CSS-only frosted glass effect…
I hope you enjoyed this article, If you have any questions feel free to comment below and I’ll be more than happy to answer them asap.
Note: You can also achieve this effect using the CSS property “backdrop-filter: blur(20px)” which is much easier and a better option in terms of its working but the support for it isn’t good enough in browsers. (click here)
If you are looking for the example that is shown above in the cover image of this article then — CLICK HERE
Also, check out this new article on CSS layout issues. Click Here
#KeepCoding :)


No comments: